A new heat pump delivers steady comfort year-round, yet the installation day can still feel uncertain if you have not seen one before. Most households want to know how long each stage takes and what they need to do while the team works. When you choose a heat pump installation service, you usually get a structured day that follows set safety and quality rules.
In New Zealand, installers follow standards for electrical work, refrigerant handling, and outdoor placement, so the process stays consistent across most homes. A reliable heat pump installation service should also keep you informed as the work moves ahead, rather than leaving you guessing. This guide explains the whole flow of the day, with practical detail and simple expectations.
Morning begins with the installation team arriving at the property. A thorough site check ensures all areas are safe and ready for the day’s work.
The day usually starts with the installers arriving within the agreed window and introducing themselves. They will confirm who will be on site, explain how long the job is likely to take, and check if you have any concerns before tools come out. This short chat sets expectations and helps keep everyone on the same page.
Next, the team conducts a fresh site check, even if a quote visit has already occurred. They inspect access routes, wall types, power points, drainage paths, and any possible hazards. If weather or site conditions change, they adjust the plan to keep the installation safe and efficient.
Typical checks include:
You may be asked to show the team where you prefer cables to run or where you do not want equipment placed. Clear answers here prevent later changes. Strong installers will explain what is realistic and why specific placements work better.
Planning the system layout comes next, focusing on both indoor and outdoor unit positions. This stage ensures the heat pump installation will operate efficiently and fit well in your home.
Once the site check is complete, the team discusses the indoor unit position with you. They aim for a spot that spreads air evenly without blasting directly at a sofa or bed. They also consider how the room is used, which doors stay open, and where heat collects.
They look for a location that:
After agreeing on indoor placement, the outdoor unit position is confirmed. The installers plan pipe routes, cable paths, and drain lines to keep them neat and protected. When explaining this layout, they should talk you through any visible trunking or brackets, so there are no surprises later.
Good layout planning supports the step-by-step heat pump installation process in NZ because local rules and weather conditions shape what “best practice” looks like. Coastal areas may require additional corrosion protection, while tight urban sites may require stronger noise-control measures. A clear layout plan means the team can work smoothly once installation begins.
Work begins with a careful check of the home to ensure safety and readiness. Proper preparation protects property and allows the team to work efficiently.
Before drilling or lifting equipment is used, the crew prepares each work zone. They often lay drop sheets, move small furniture, and protect carpets or timber floors. If they need to work near a TV, artwork, or fragile décor, they will cover or relocate it with your approval.
Heat pump Installers then organise tools, ladders, and safety gear. They keep walkways clear so nobody trips, and they check that their work area has a stable footing. If outdoor work needs a clear passage along a fence line or driveway, they will ask you to move vehicles or outdoor items.
You might notice a focus on tidy staging. This is not just professionalism; it prevents accidents and speeds up the job. If you have pets or children, tell the team early so they can set boundaries and keep everyone safe.

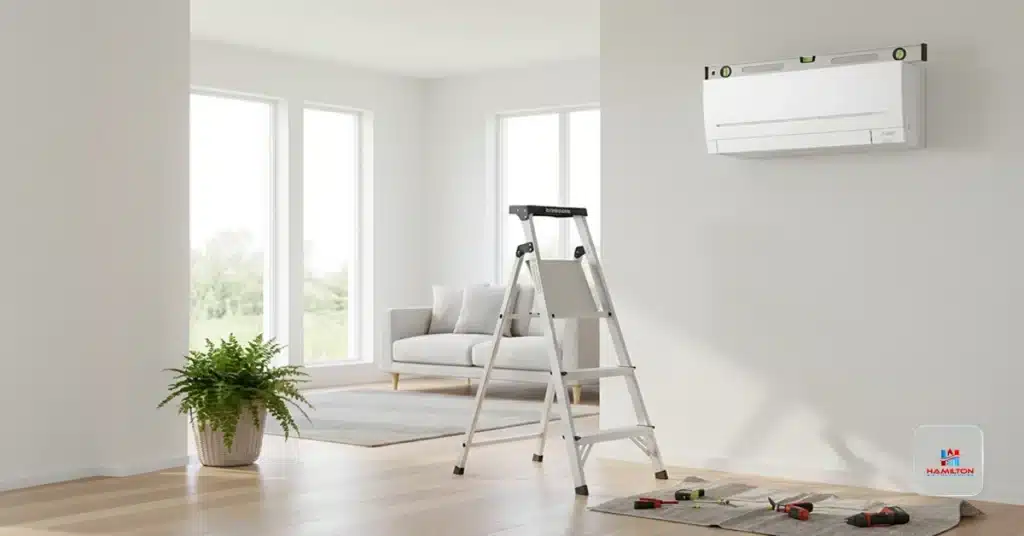
Wall preparation and precise positioning are essential before mounting the indoor unit. Correct alignment ensures smooth airflow and reliable drainage once the system is running.
With the area prepared, the installers carefully measure the wall position. They use levels and stud finders to locate solid fixing points, particularly in older homes. Accurate measuring ensures the unit sits straight and drains properly.
After marking, the bracket is mounted to the wall. The bracket holds the indoor unit’s weight, so it must be fixed to a strong material, not just plasterboard. Installers may use anchors or additional supports depending on the wall type.
You can expect:
A neat bracket installation helps prevent rattling, uneven airflow, and drainage problems later. It also sets a good foundation for a fast, tidy next stage.
Strong support and proper positioning are essential for the outdoor unit’s performance. Careful setup ensures quiet operation, efficient airflow, and long-lasting reliability.
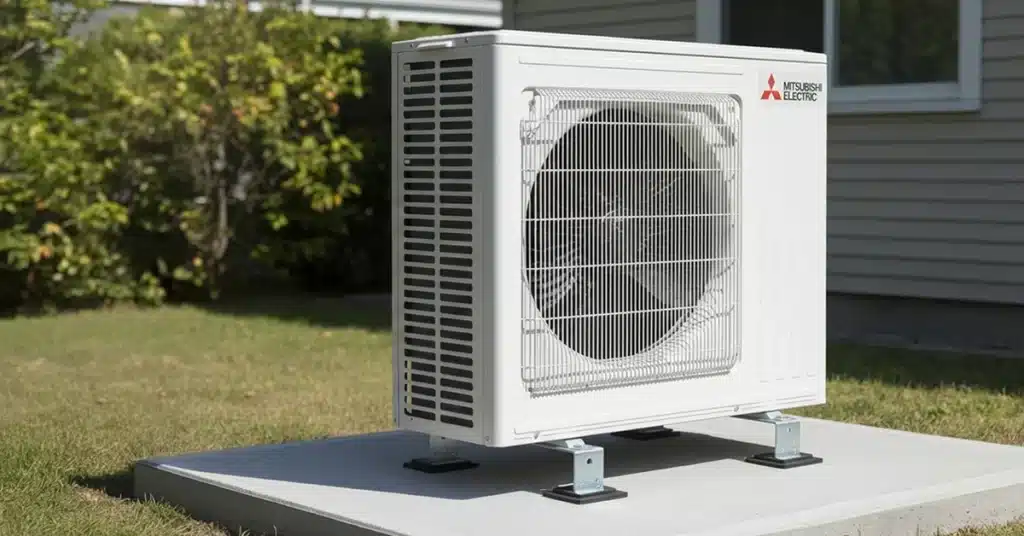
Outdoor units need a sturdy, level base to reduce vibration and handle weather. Installers choose between wall brackets, concrete pads, or polymer feet depending on the site. They keep the unit clear of splash zones, garden beds, and tight corners that block airflow.
The unit is lifted into place and levelled. At this point, the team checks again for clearance around the fan and coil, since airflow restrictions can hurt performance. They also consider your neighbours by aiming the fan away from shared fences when practical.
Outdoor placement matters for long-term comfort and peace in your home. If you are unsure, ask why they chose that spot. A good installer will explain it clearly, without rushing you.
Pipes and electrical systems are joined to allow the heat pump to operate safely and efficiently. Secure connections help the system run reliably and prevent future issues.
This stage connects the indoor and outdoor units via refrigerant piping and drainage. The pipes are insulated to prevent heat loss and condensation. The drain line is angled to allow gravity flow so water does not back up into the unit.
Installers often:
Electrical wiring is connected next, in accordance with local standards. The team isolates power before working, then tests connections once the work is complete. If a dedicated circuit is required, they will install or confirm it before switching the system on.
This is where a quality check of the second heat pump installation often occurs. Proper connections prevent leaks, avoid electrical faults, and help the system reach its expected efficiency. You may see pressure gauges or vacuum pumps here; this is normal and important.
Once all connections are complete, the heat pump is switched on to confirm operation. Testing ensures the system runs efficiently and delivers the comfort expected.
When fittings are complete, the team powers on the system for the first time. They check the remote, airflow direction, and fan speeds. They also confirm that the indoor unit responds to temperature changes and mode switches.
Installers test performance with tools, not just by feel. They may measure outlet temperatures, air volume, and refrigerant pressures. They also listen for unusual sounds and watch for vibrations. Outdoor drainage and indoor condensate flow are checked, too.
During this part, you should notice a calm, methodical approach. If the team rushes through testing, that is a red flag. Good testing ensures your unit works correctly in both heating and cooling modes, even if you rarely use either.
After testing finishes, installers spend time showing how the system operates. Homeowners leave confident they can control and maintain the heat pump.
Once testing passes, the installers walk you through the system. They show you how to:
They also explain normal sounds, what the lights mean, and how to spot early issues. If you prefer short instructions, let them know. If you like detail, ask questions. This is your chance to feel entirely comfortable.
The handover includes paperwork, warranty details, and service advice. Many teams leave a short guide or email summary. This stage aligns with the checklist for heat pump installation handover, where everything is confirmed before they leave.
A good handover checklist includes:
This moment also answers what to expect on heat pump installation day most clearly, because you see the whole system working and understand how to run it. If something feels unclear, keep asking until you are satisfied.
A smooth heat pump installation service should leave you feeling informed, not overwhelmed. Each step, from the first site check to testing and training, plays a clear role in safety and efficiency. When installers take time to explain choices and show results, you know your system is set up for long-term comfort.
Hamilton Aircons focuses on careful installation and clear handover so that you can use your new heat pump with confidence. If you follow the advice given on the day and stick to simple maintenance, your home should stay comfortable year-round. When you are ready, booking with a trusted team means you know exactly how the day will run and what good work looks like.
© 2026 | Hamilton Air Conditioning | All Rights reserved | Designed by ![]()